Have you ever wished you could bottle up the joy of birthday cake and turn it into ice cream? What if I told you that with just a few simple ingredients, you can create Cake Batter Ice Cream —a creamy, Creamy dessert that tastes like your favorite vanilla birthday cake batter but in frozen form? This magical treat is perfect for anyone who loves the sweet nostalgia of cake batter but craves something cool and refreshing.
Whether hosting a party, celebrating a special occasion, or simply craving something sweet, this recipe is here to save the day. Plus, it’s surprisingly easy to make, even if you’ve never made Ice cream. Ready to whip up a batch of this delightful dessert? Let’s dive in!
Overview: Why This Recipe Stands Out

What makes Cake Batter Ice Cream so special? For starters, it combines the best of both worlds: the rich, creamy texture of ice cream and the fun, nostalgic flavor of Cake batter. It’s like having your cake and eating it too—but frozen!
Time Requirement
- Prep Time: 15 minutes
- Chill Time: 4–6 hours (or overnight)
- Total Time: ~30 minutes active work + chilling
Difficulty Level
Beginner-friendly! With just a few steps and no fancy equipment required, anyone can master this recipe.
Essential Ingredients: What You’ll Need and Why It Matters
Let’s talk about the stars of the show—the ingredients. Each one plays a crucial role in creating the Perfect Cake Batter Ice Cream :
- Heavy Cream: Provides the rich, velvety base that gives homemade ice cream its luxurious texture.
- Sweetened Condensed Milk: Adds sweetness and helps keep the ice cream soft and scoopable.
- Vanilla Extract: Enhances the classic cake batter flavor without overpowering it.
- Sprinkles: Bring color, crunch, and that unmistakable birthday cake vibe.
- All-Purpose Flour: A small amount ensures the “cake batter” taste is authentic and safe to eat raw.
- Salt: Balances the sweetness and enhances the overall flavor profile.
Substitutions and Variations
- Dairy-Free Option: Use coconut cream instead of heavy cream and dairy-free condensed milk.
- Gluten-Free Option: Swap all-purpose flour for gluten-free flour blend.
- Flavor Boosts: Add almond extract for a nutty twist or mix in chocolate chips for extra indulgence.
Every ingredient brings something special to the table, so don’t be afraid to experiment!
Step-by-Step Instructions: How to Make Cake Batter Ice Cream

Now comes the fun part—making the magic happen! Follow these simple steps to create your very own Cake Batter Ice Cream.
Step 1: Prepare Your Base
- In a large mixing bowl, combine 1 can (14 oz) of sweetened condensed milk, 1 teaspoon of vanilla extract, 2 tablespoons of all-purpose flour, and a pinch of salt. Mix until smooth.
- Stir in ½ cup of sprinkles, reserving some for later. Be gentle to avoid bleeding colors from the sprinkles.
Step 2: Whip the Cream
- In a separate bowl, use a hand mixer or stand mixer to whip 2 cups of heavy cream until stiff peaks form. This step is key to achieving that light, airy texture.
- Gently fold the whipped cream into the sweetened condensed milk mixture in three parts. Use a spatula and fold slowly to avoid deflating the whipped cream.
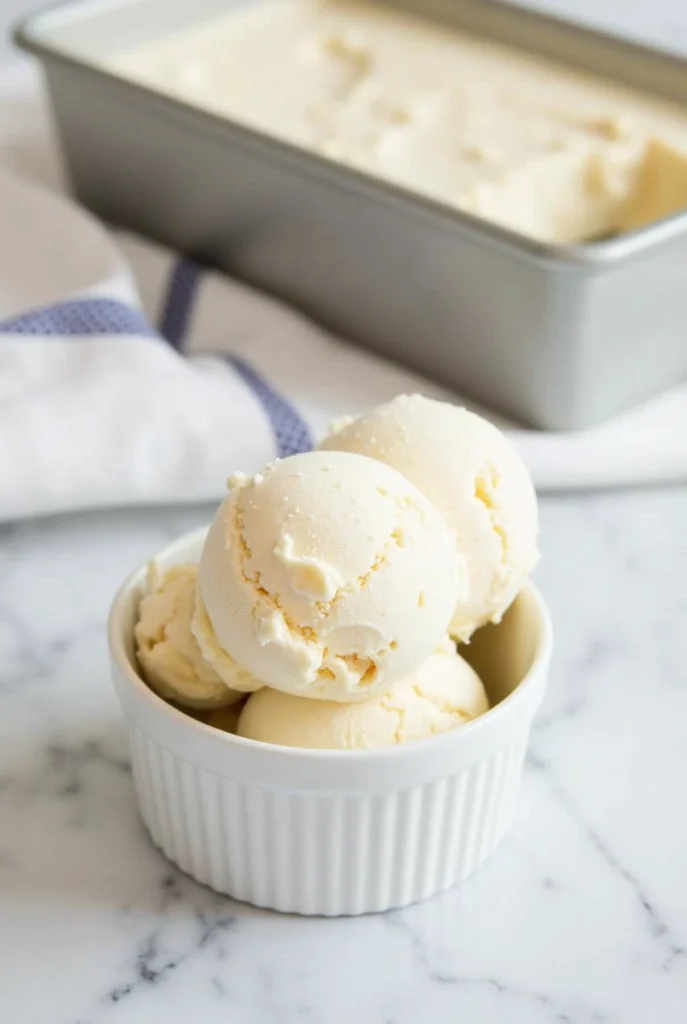
Step 3: Freeze the Mixture
- Pour the mixture into a loaf pan or an airtight container. Smooth the top with a spatula.
- Sprinkle additional sprinkles on top for an extra festive touch.
- Cover the container tightly with plastic wrap or a lid and freeze for 4–6 hours, or until firm.
Step 4: Scoop and Serve
- Once fully frozen, scoop the ice cream into bowls or cones.
- Garnish with more sprinkles or a drizzle of caramel sauce if desired.
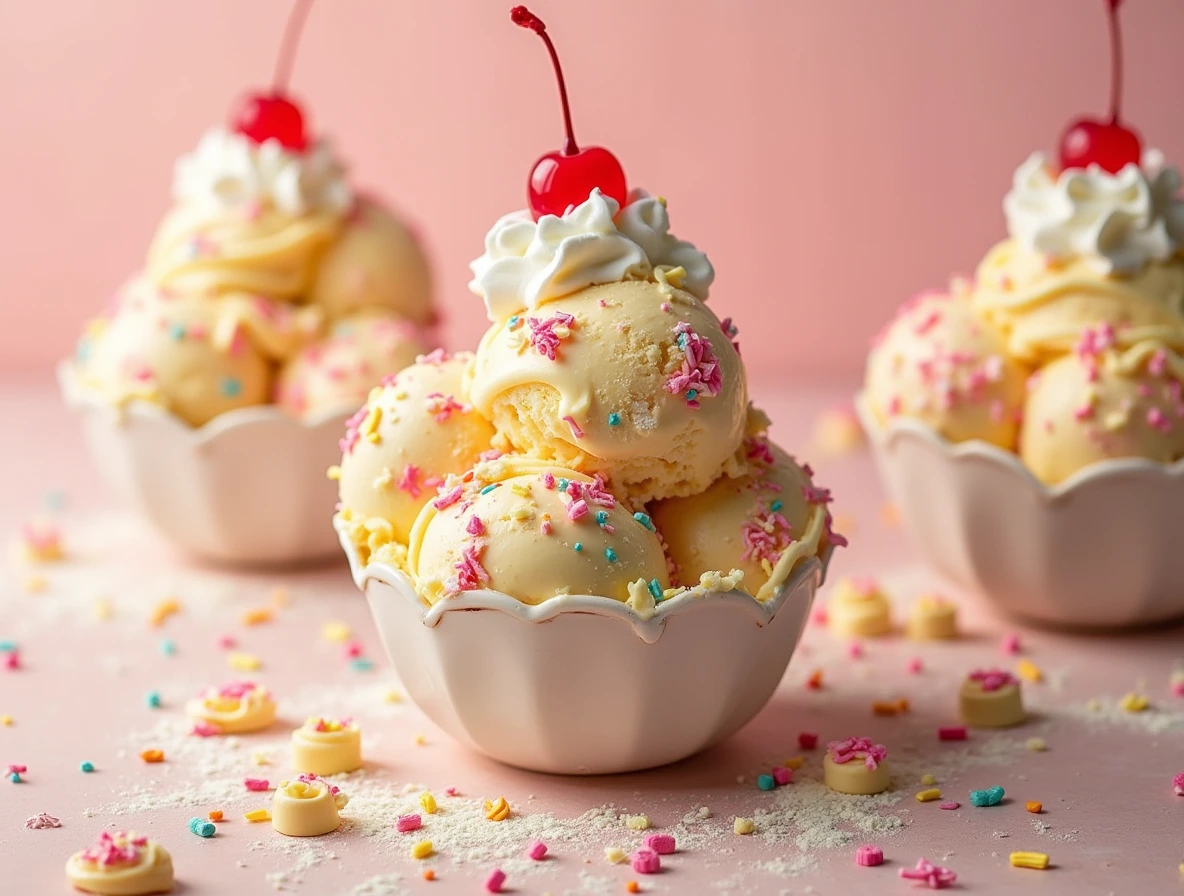
Assembly: Building Your Cake Batter Ice Cream Masterpiece

Once your ice cream is frozen, it’s time to present it beautifully. Here are some tips for making your Cake Batter Ice Cream look as good as it tastes:
- Serve scoops in colorful bowls or waffle cones for a playful touch.
- Add extra toppings like whipped cream, hot fudge, or crushed cookies for added flair.
- Pair with a slice of actual cake for a “cake and ice cream” combo that’s pure indulgence.
Presentation matters! Taking a moment to style your dessert will elevate the experience for both you and your guests.
Storage and Make-Ahead Tips
One of the best things about Cake Batter Ice Cream is how well it stores. Here’s what you need to know:
- Freezing: Store in an airtight container in the freezer for up to 2 weeks. Press plastic wrap directly onto the surface of the ice cream before sealing to prevent freezer burn.
- Make-Ahead Option: Assemble the ice cream up to 2 days in advance and keep it frozen until ready to serve.
- Scooping Tip: Let the ice cream sit at room temperature for 5–10 minutes before scooping for easier serving.
Recipe Variations: Get Creative!
Love experimenting in the kitchen? Try these creative twists on classic Cake Batter Ice Cream :
- Chocolate Lover’s Dream: Swirl melted chocolate or chocolate syrup into the base for a decadent twist.
- Funfetti Explosion: Add mini marshmallows or white chocolate chips for extra texture.
- Fruit-Filled Delight: Fold in diced strawberries or blueberries for a fruity surprise.
- Cookie Dough Bliss: Mix in edible cookie dough chunks for a fun variation.
The possibilities are endless—feel free to get creative and make this recipe your own!
Time to Impress Yourself and Others
Congratulations—you now have all the tools you need to create a stunning Cake Batter Ice Cream that’s sure to wow. Whether you’re celebrating a birthday, hosting a party, or just treating yourself, this dessert proves that simplicity doesn’t mean boring. So grab your ingredients, fire up that freezer, and enjoy every creamy, sprinkle-filled bite. And hey, don’t forget to share your creations with us—we’d love to see how your culinary adventure turns out!
FAQs About Cake Batter Ice Cream
Q: Is it safe to eat raw flour in this recipe?
A: Yes! To ensure safety, heat-treat the flour by microwaving it for 30–45 seconds until it reaches 165°F (74°C). Let it cool before using.
Q: Can I use store-bought ice cream as a base?
A: While possible, making it from scratch ensures the freshest flavor and best texture.
Q: How long does this ice cream last in the freezer?
A: Up to 2 weeks if stored properly in an airtight container.
Q: Can I make this recipe without an ice cream maker?
A: Absolutely! This no-churn method requires no special equipment.
Q: Why did my ice cream turn out icy?
A: Ensure you whip the cream until stiff peaks form and fold gently to incorporate air. Also, cover the ice cream tightly to prevent freezer burn.