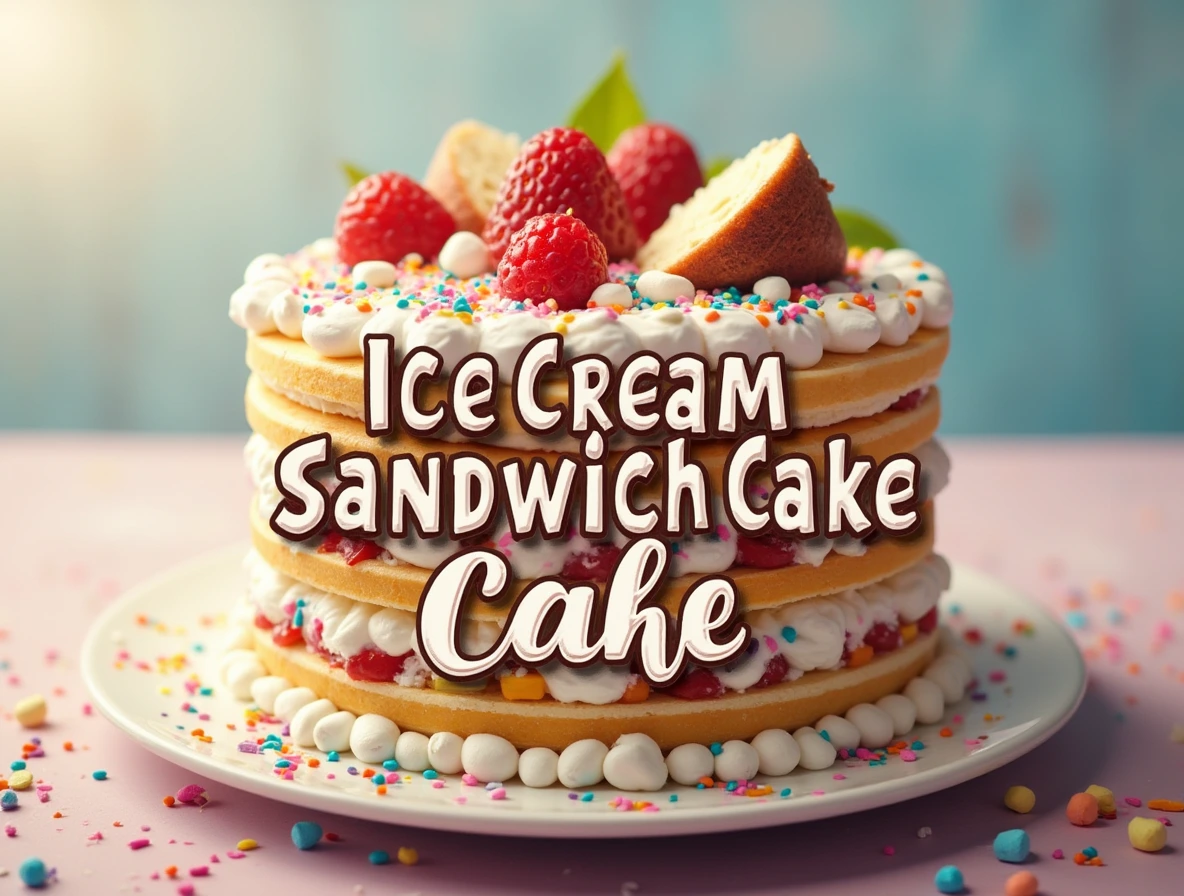
Can Dessert Be Both Fun and Effortless?
Have you ever wondered how to make a dessert that’s as fun to assemble as it is to eat? What if I told you there’s a way to create a show-stopping cake using just ice cream sandwiches, whipped cream, and a few simple toppings? Meet the Ice Cream Sandwich Cake —a no-bake masterpiece that’s perfect for birthdays, barbecues, or even a random Tuesday night.
This Dessert is so easy to make that even kids can help assemble it, but it looks impressive enough to wow your guests. Whether you’re a baking newbie or a seasoned dessert enthusiast, this recipe is guaranteed to bring smiles to everyone at the table. Ready to dive into the world of Effortless desserts? Let’s get started!
Why This Recipe Stands Out

What makes the Ice Cream Sandwich Cake so special? For starters, it’s incredibly versatile, customizable, and requires no baking—perfect for those hot summer days when turning on the oven feels like a crime. The combination of creamy layers, Crunchy cookies, and sweet toppings creates a dessert that’s rich, indulgent, and utterly irresistible.
Time Requirement
- Prep Time: 15 minutes
- Chill Time: 4–6 hours (or overnight)
- Total Time: ~30 minutes active work + chilling
Difficulty Level
Beginner-friendly! With just five easy steps and no fancy techniques, anyone can master this recipe.
Essential Ingredients: What You’ll Need and Why It Matters
Let’s talk about the stars of the show—the ingredients. Each one plays a crucial role in creating the perfect Ice Cream Sandwich Cake :
- Ice Cream Sandwiches: These form the base and layers of the cake, providing structure and a delightful cookie crunch.
- Whipped Cream or Cool Whip: Adds lightness and creaminess between the layers.
- Chocolate Syrup or Hot Fudge: Drizzled inside and on top for extra richness.
- Sprinkles: For color, texture, and a festive touch.
- Optional Toppings: Crushed nuts, mini chocolate chips, caramel sauce, or fresh fruit for added flair.
Substitutions and Variations
- Dairy-Free Option: Use dairy-free ice cream sandwiches and whipped topping.
- Gluten-Free Option: Look for gluten-free ice cream sandwiches or swap with homemade cookies.
- Flavor Boosts: Try different ice cream sandwich flavors like mint chocolate or strawberry.
Every ingredient brings something special to the table, so don’t be afraid to experiment!
Step-by-Step Instructions: How to Make an Ice Cream Sandwich Cake
Now comes the fun part—making the magic happen! Follow these simple steps to create your very own Ice Cream Sandwich Cake.
Step 1: Gather Your Ingredients
- Line an 8×8-inch pan or cake stand with parchment paper for easy removal later.
- Have all your ingredients ready: ice cream sandwiches, whipped cream, toppings, and sauces.
Step 2: Create the Base Layer
- Place a single layer of ice cream sandwiches at the bottom of the pan to form the foundation.
- Spread a generous layer of whipped cream over the sandwiches, smoothing it evenly with a spatula.
- Drizzle chocolate syrup or hot fudge over the whipped cream for added decadence.
Step 3: Add the Middle Layers
- Repeat the process by adding another layer of ice cream sandwiches on top of the first layer.
- Spread more whipped cream and drizzle additional chocolate syrup.
- Continue layering until you’ve used all your ice cream sandwiches, leaving enough whipped cream for the final step.
Step 4: Finish with the Top Layer
- Place the final layer of ice cream sandwiches on top.
- Spread a thick layer of whipped cream over the entire cake, ensuring it’s smooth and even.
- Decorate with sprinkles, crushed nuts, mini chocolate chips, or any toppings of your choice.
Step 5: Chill Until Firm
- Cover the cake with plastic wrap and refrigerate for at least 4–6 hours, or overnight, to allow the layers to set.
- Remove from the fridge and let it sit for 5–10 minutes before slicing and serving.

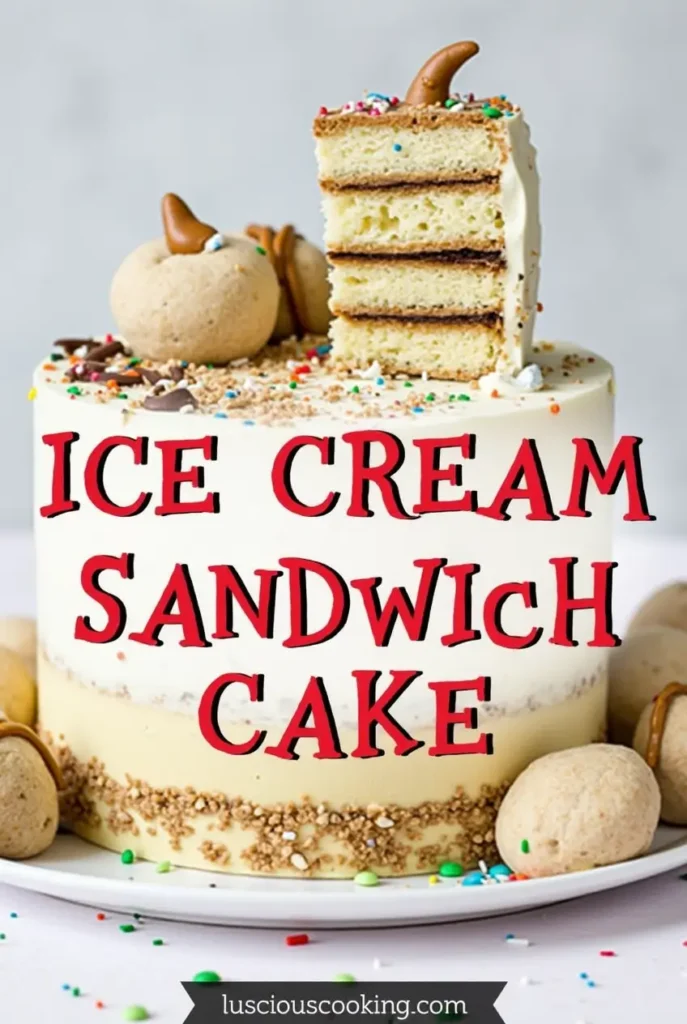
Building Your Ice Cream Sandwich Cake Masterpiece
Once your cake is assembled, it’s time to present it beautifully. Here are some tips for making your Ice Cream Sandwich Cake look as good as it tastes:
- Arrange colorful sprinkles or toppings symmetrically for a polished finish.
- Use a piping bag to add decorative swirls of whipped cream around the edges.
- Serve slices on individual dessert plates with extra chocolate syrup or caramel drizzle for elegance.
Presentation matters! Taking a moment to style your dessert will elevate the experience for both you and your guests.
Storage and Make-Ahead Tips
One of the best things about Ice Cream Sandwich Cake is how well it stores. Here’s what you need to know:
- Refrigeration: Store in an airtight container in the fridge for up to 3 days. Avoid freezing, as it may affect the texture.
- Make-Ahead Option: Assemble the cake up to 2 days in advance and keep it chilled until ready to serve.
- Serving Tip: Let the cake sit at room temperature for 5–10 minutes before slicing for clean cuts.
Recipe Variations: Get Creative!
Love experimenting in the kitchen? Try these creative twists on classic Ice Cream Sandwich Cake :
- Peanut Butter Lover’s Delight: Swirl peanut butter into the whipped cream layers and top with chopped peanuts.
- Berry Bliss: Add fresh berries like strawberries or raspberries between the layers for a fruity twist.
- S’mores-Inspired Cake: Use marshmallow fluff and crushed graham crackers for a campfire-inspired treat.
- Mint Chocolate Magic: Swap regular ice cream sandwiches for mint chocolate ones and use green-tinted whipped cream.
The possibilities are endless—feel free to get creative and make this recipe your own!
Time to Impress Yourself and Others
Congratulations—you now have all the tools you need to create a stunning Ice Cream Sandwich Cake that’s sure to wow. Whether you’re hosting a party, craving a sweet treat, or just want to try something new, this dessert proves that simplicity doesn’t mean boring. So grab your ingredients, fire up that fridge, and enjoy every creamy, crunchy bite. And hey, don’t forget to share your creations with us—we’d love to see how your culinary adventure turns out!
FAQs About Ice Cream Sandwich Cake
Q: Can I use homemade ice cream sandwiches?
A: Absolutely! Homemade ice cream sandwiches work beautifully and allow for customization.
Q: How long does this cake last in the fridge?
A: Up to 3 days in the fridge. For best results, consume within 2 days.
Q: Is this cake kid-friendly?
A: Yes! Kids love helping assemble and decorate the cake—it’s a fun family activity.
Q: Can I freeze this cake?
A: Freezing isn’t recommended, as it may cause the whipped cream to separate and lose texture.
Q: Why did my cake fall apart when slicing?
A: Ensure the cake has chilled long enough to set. A sharp knife dipped in warm water helps achieve clean slices.