Can Dessert Be Both Healthy and Delicious?
Have you ever craved the warm, comforting flavors of apple fritters but hesitated because they’re typically deep-fried and packed with calories? What if I told you there’s a way to enjoy this classic treat without sacrificing your health goals or spending hours in the kitchen? Meet Baked Apple Fritters —a healthier, oven-baked version that’s just as delicious as its fried counterpart but far easier to make.
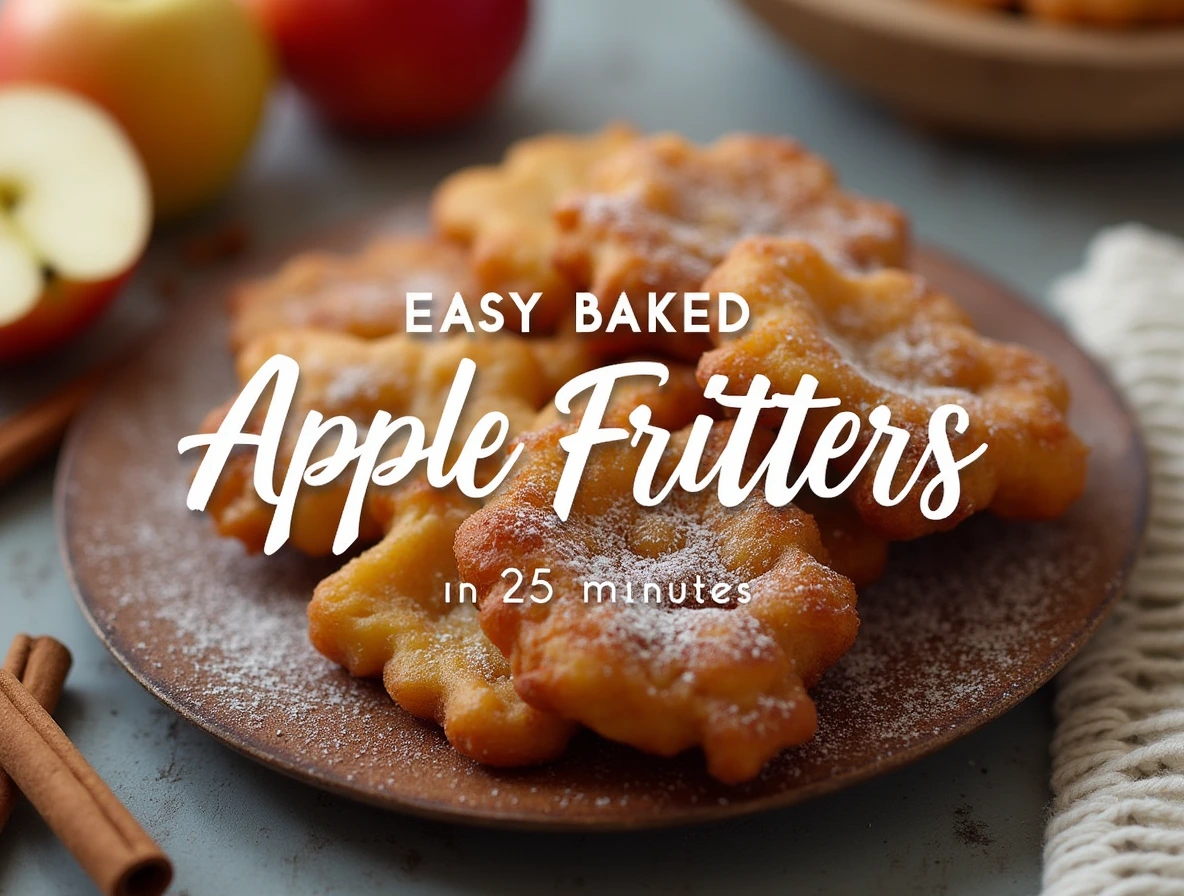
Whether you’re hosting brunch, craving a Cozy dessert, or looking for a quick snack, these baked fritters are here to save the day. With their soft, spiced centers and crispy golden tops, they’re sure to satisfy your sweet tooth without weighing you down. Ready to whip up a batch of these delightful treats? Let’s dive in!

Overview: Why This Recipe Stands Out
What makes Baked Apple Fritters so special? For starters, they combine the rich, cinnamon-spiced flavor of traditional fritters with the healthier option of baking instead of frying. The result? A dessert that’s light, fluffy, and perfectly spiced—without all the grease. Plus, they’re quick to prepare, making them ideal for busy mornings or last-minute cravings.
Time Requirement
- Prep Time: 10 minutes
- Bake Time: 15 minutes
- Total Time: 25 minutes
Difficulty Level
Beginner-friendly! With just a few simple steps and no fancy equipment required, anyone can master this recipe.
Essential Ingredients: What You’ll Need and Why It Matters

Let’s talk about the stars of the show—the ingredients. Each one plays a crucial role in creating the perfect Baked Apple Fritters :
- Apples: The heart of the dish, providing natural sweetness and texture. Use crisp varieties like Granny Smith, Honeycrisp, or Fuji.
- All-Purpose Flour: Provides structure to the batter, ensuring the fritters hold together.
- Sugar: Adds sweetness and enhances the caramelized flavor when baked.
- Eggs: Bind the ingredients together while adding moisture.
- Milk: Creates a smooth, pourable batter that bakes evenly.
- Cinnamon and Nutmeg: Bring warmth and depth to the spiced apple filling.
- Baking Powder: Helps the batter rise, giving the fritters their light and airy texture.
- Vanilla Extract: Enhances the overall flavor profile with a hint of warmth.
Substitutions and Variations
- Gluten-Free Option: Substitute all-purpose flour with a gluten-free flour blend.
- Dairy-Free Option: Use almond milk or oat milk instead of regular milk.
- Lower Sugar Option: Reduce sugar by half and let the natural sweetness of the apples shine.
- Flavor Boosts: Add a pinch of cardamom or cloves for extra spice or fold in chopped nuts for crunch.
Every ingredient brings something special to the table, so don’t be afraid to experiment!
Step-by-Step Instructions: How to Make Baked Apple Fritters

Now comes the fun part—making the magic happen! Follow these simple steps to create your very own Baked Apple Fritters.
Step 1: Preheat and Prepare
- Preheat your oven to 375°F (190°C).
- Line a baking sheet with parchment paper or lightly grease it with cooking spray to prevent sticking.
Step 2: Prepare the Apples
- Peel, core, and dice 2 medium apples into small cubes (about 1 cup).
- In a small saucepan, cook the diced apples with 1 tablespoon of butter, 1 tablespoon of brown sugar, and ½ teaspoon of cinnamon over medium heat until softened (about 5–7 minutes). Set aside to cool slightly.
Step 3: Mix the Batter
- In a mixing bowl, whisk together 1 cup of all-purpose flour, 2 tablespoons of sugar, 1 teaspoon of baking powder, and a pinch of salt.
- In a separate bowl, beat 1 egg, ½ cup of milk, and 1 teaspoon of vanilla extract.
- Gradually add the wet ingredients to the dry ingredients, stirring until just combined. Avoid overmixing to keep the texture light.
Step 4: Assemble the Fritters
- Fold the cooked apple mixture into the batter, ensuring the apples are evenly distributed.
- Drop spoonfuls of the batter onto the prepared baking sheet, spacing them about 2 inches apart. Use the back of a spoon to gently flatten each fritter slightly.
Step 5: Bake and Glaze
- Bake for 12–15 minutes, or until the fritters are golden brown and firm to the touch.
- While the fritters cool, prepare a simple glaze by whisking together ½ cup of powdered sugar, 1–2 teaspoons of milk, and ½ teaspoon of vanilla extract. Drizzle the glaze over the warm fritters for an extra touch of sweetness.
Assembly: Building Your Baked Apple Fritters Masterpiece

Once your fritters are baked and glazed, it’s time to present them beautifully. Here are some tips for making your Baked Apple Fritters look as good as they taste:
- Arrange the fritters on a decorative plate or tray lined with parchment paper.
- Dust with a sprinkle of cinnamon or powdered sugar for added elegance.
- Serve alongside a scoop of vanilla ice cream or a dollop of whipped cream for extra indulgence.
Presentation matters! Taking a moment to style your dessert will elevate the experience for both you and your guests.
Storage and Make-Ahead Tips
One of the best things about Baked Apple Fritters is how well they store. Here’s what you need to know:
- Room Temperature: Store in an airtight container at room temperature for up to 2 days.
- Refrigeration: Keep in the fridge for up to 5 days. Reheat in the oven at 350°F (175°C) for 5–10 minutes to restore crispiness.
- Freezing: Freeze unbaked fritter batter in a freezer-safe dish for up to 1 month. Bake directly from frozen, adding 2–3 minutes to the bake time.
Recipe Variations: Get Creative!
Love experimenting in the kitchen? Try these creative twists on classic Baked Apple Fritters :
- Pumpkin Spice Delight: Add ¼ cup of pumpkin puree and ½ teaspoon of pumpkin pie spice to the batter for a fall-inspired twist.
- Chocolate Lover’s Dream: Fold mini chocolate chips into the batter before baking for a decadent treat.
- Nutty Crunch: Sprinkle chopped pecans or walnuts on top before baking for added texture.
- Citrus Zest: Add lemon or orange zest to the batter for a bright, refreshing flavor.
The possibilities are endless—feel free to get creative and make this recipe your own!
Time to Impress Yourself and Others
Congratulations—you now have all the tools you need to create a stunning batch of Baked Apple Fritters that’s sure to wow. Whether you’re hosting brunch, satisfying a sweet craving, or simply looking for a healthier dessert option, this recipe proves that you don’t have to sacrifice flavor for convenience.
So grab your ingredients, fire up that oven, and enjoy every bite of these warm, spiced delights. And hey, don’t forget to share your creations with us—we’d love to see how your culinary adventure turns out!
FAQs About Baked Apple Fritters
Q: Can I use canned apples instead of fresh ones?
A: Yes, but drain and pat them dry to avoid excess moisture in the batter.
Q: How long do these fritters last?
A: Up to 5 days in the fridge or 1 month in the freezer.
Q: Can I make these fritters gluten-free?
A: Absolutely! Substitute all-purpose flour with a gluten-free flour blend.
Q: Is this recipe kid-friendly?
A: Yes! Kids love helping mix the batter and drizzle the glaze—it’s a fun family activity.
Q: Why did my fritters turn out flat?
A: Ensure you don’t overmix the batter and double-check the baking powder for freshness.